
When I bought my Cayman S it had a check engine (MIL) on because of a catalyst efficiency fault, meaning the catalyst was no longer passing a test the OBDII system does to ensure it is working properly. I was able to trick it by moving the downstream O2 sensor but that would occasionally give another fault. I researched what options I had for replacing the catalyst. On this car the catalyst is part of the header assembly. I started looking into high performance headers. There are some options out there from a few different manufacturers but the best appeared to be Fabspeed. They were also the most expensive. When I started looking in 2014 they were $3500 a set. Yikes. That seemed pretty high so I waited. They finally dropped to $2,895 a few years later. Then I got a coupon for 10% off through Pelican parts and I was very close to buying. Then one day in early December 2018 I saw an ad for a Fabspeed sale right at the Fabspeed website. I figured it would be hats and shirts but my headers were on sale for 15% off. I immediately added to cart and bought them.
I made a short video to hear the old exhaust as I started the car cold to compare later.
They came in after Christmas and I made an unboxing video.


While most cars are a big hassle to replace headers, the Cayman is very simple since everything is really under the car with nothing in the way. You can easily see and access all of the head flange bolts.


The other end has a simple 3-bolt flange which is easy to access after removing the wheel and the small plastic panel.


Here are some shots comparing with the factory headers.


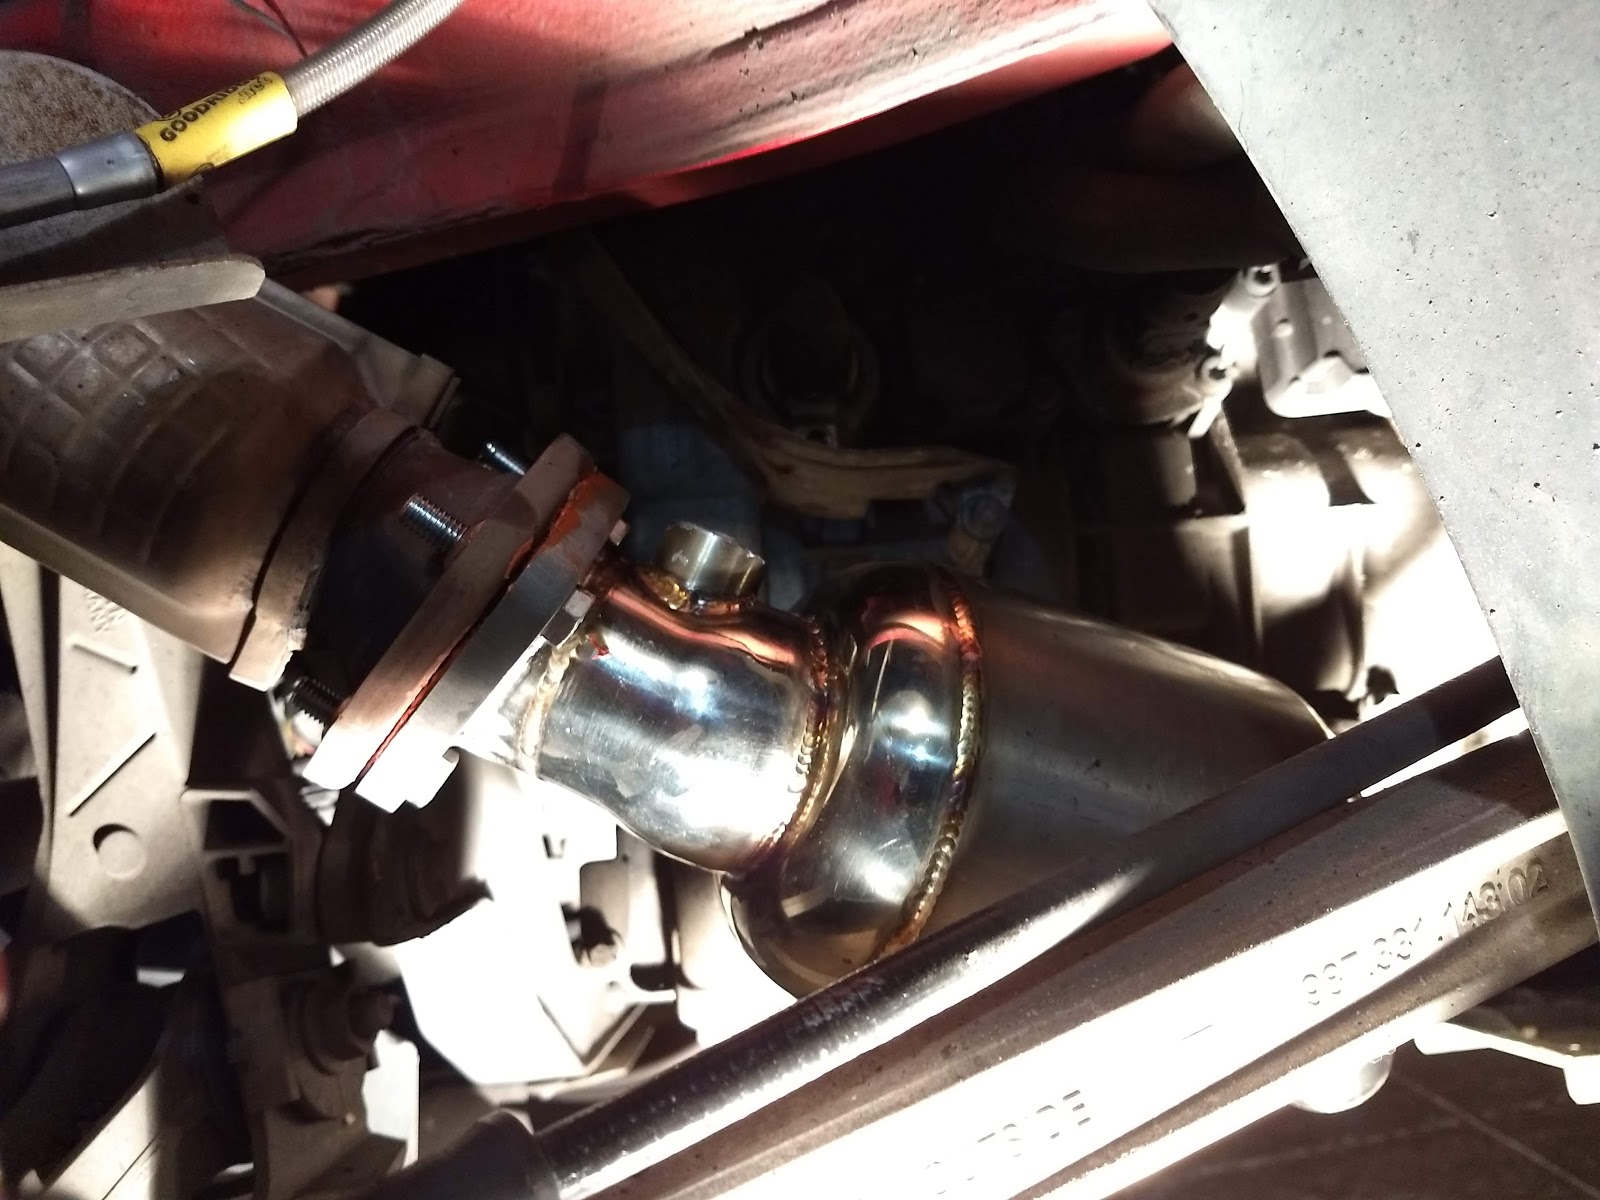
Here is what they look like installed.


Here is a video of the very first cold start after the header upgrade. Since I changed only the headers you might expect the sound to be about the same.
It could be my imagination but it seems to rev quicker now. It does seems to have slightly different sound on acceleration too. At idle is seems about the same (as expected). Driving the car after the header install is only slightly different than before. It seems smoother and it does feel like the power is smoother and a bit higher everywhere. Some have said they lost a bit down low and gain at the top. In my case it seems like it gained a bit everywhere. My case is unique since I left the stock mufflers and downstream cats in place. As I mentioned before, I had already replaced the very restrictive outlet "T" with mandrel bent tubes back when I got the car. I also removed the intake sound snorkel and panel and installed a K&N air filter around the same time so both of those mods were done well before.
I plan to install an intake plenum and 82mm GT3 throttle body next. I am also considering what to do with the mufflers. Sound is a personal thing. I don't like a raspy sound or a drone, nor do I like cracks and pops, so I want to be careful to not do that. I like the sound I have now but would not mind turning the volume of it up a bit. I am more interested in power than loud. I also like the induction sound at wide open throttle more than exhaust sound.
Update 3/24/2019: After driving the car a week through several warm-up cycles and some good highway runs I re-torqued the headers per the instructions. Some bolts were a tad loose so this is a good thing to do and it is very easy (literally a 15 minute job). As expected the headers do change color with use. Now they look gold (aligning with the price I suppose).


Update 3/29/2019: Now that I have been driving it for a couple weeks I have noticed more about the performance and driveability. There is a hill on my way home that has a 45mph speed limit. Before the headers I would have to downshift for that hill, now I don't. The performance at low RPM is smoother and it has more power there. Light throttle operation is crisper than before. The engine is a bit more responsive to throttle input. The power seems to be a bit more everywhere. The difference is not huge but it is noticeable.


